|
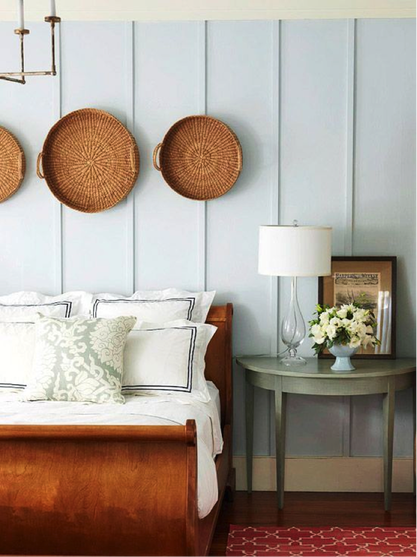
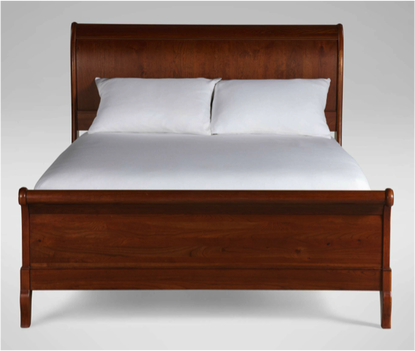
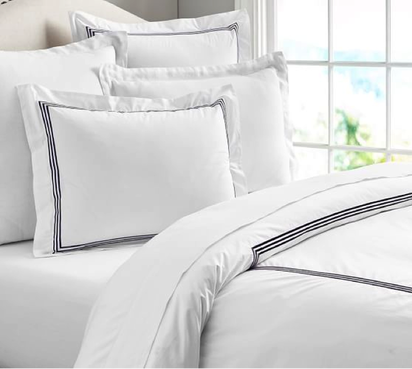
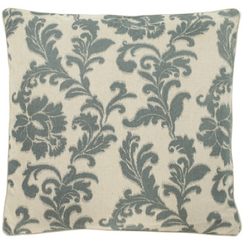
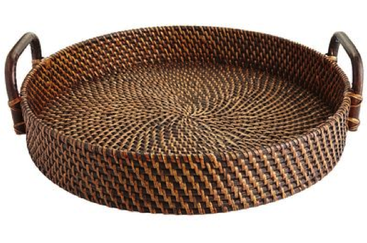
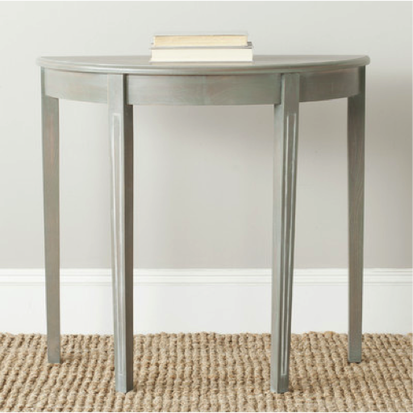
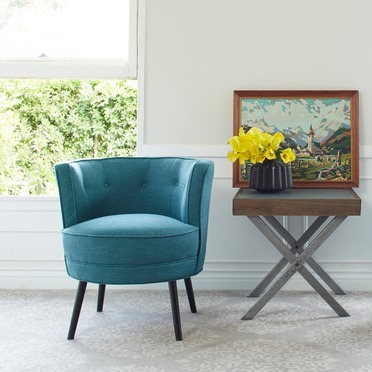
This coastal chic bedroom screams "CHARLESTON" to me! It's chic yet cozy and rustic but comfortable. It says "come on in, relax, read your favorite book, and have a glass of sweet tea!" This is a perfect way to incorporate a little of that casual, Southern style into your home. This look is perfect for a guest room or master retreat. Check out below to see how to re-create this look in your home! Now...let's style that side table! And just like that, you have a little slice of low-country heaven to retreat to after a long day or a beautiful sanctuary to welcome your guests! Comment and let me know what you think of this look! Thanks for reading! Cheers - Molly
1 Comment
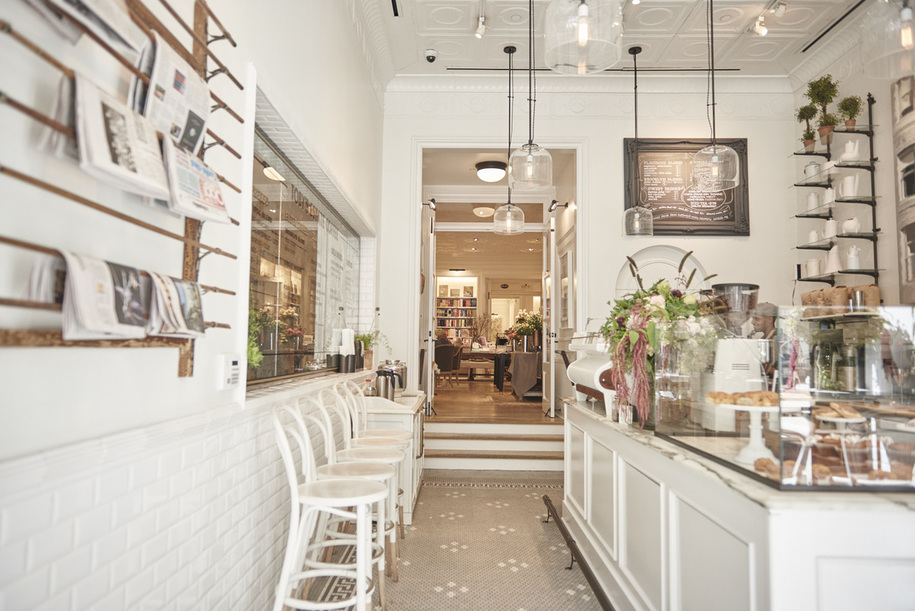
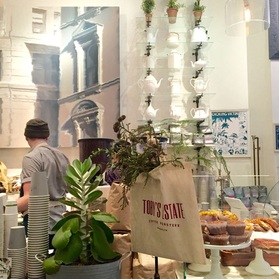
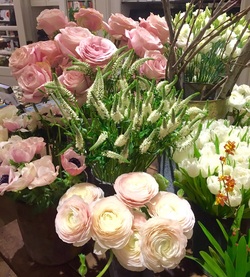
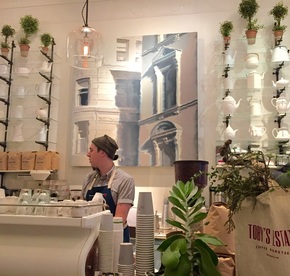
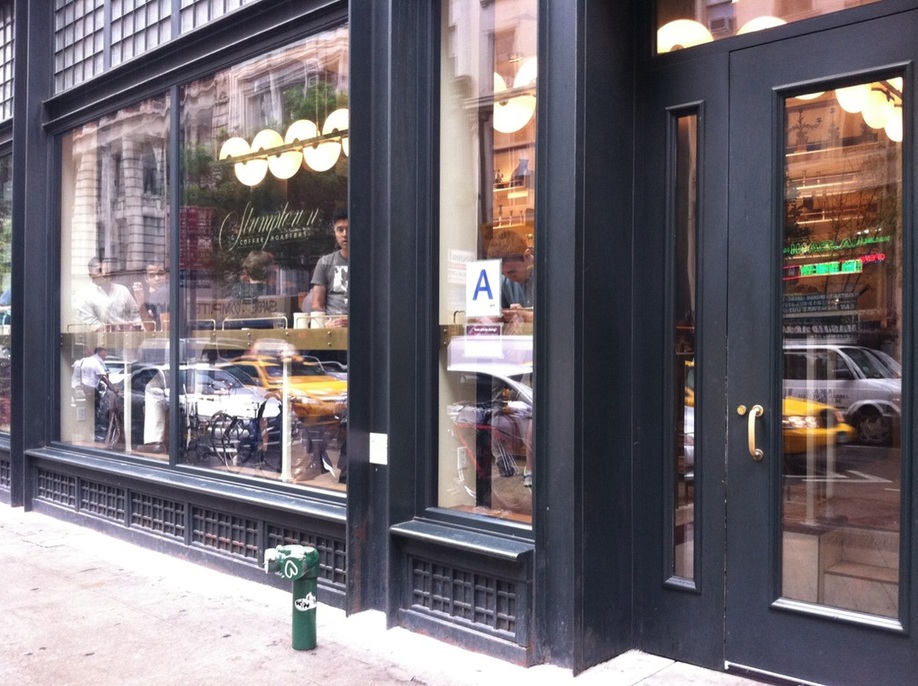
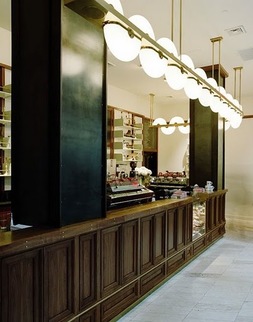
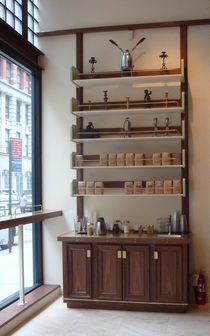
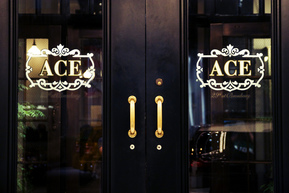
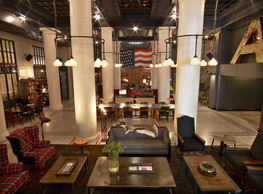
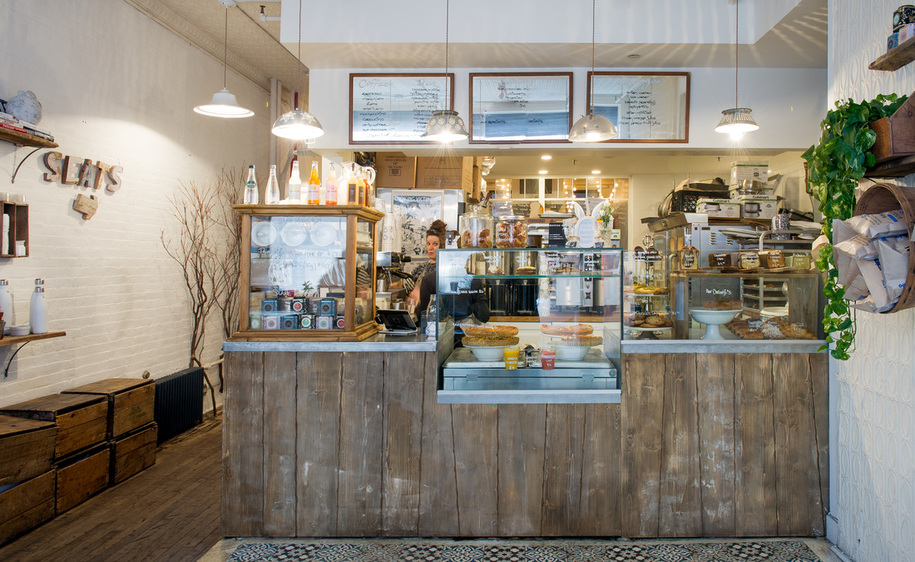
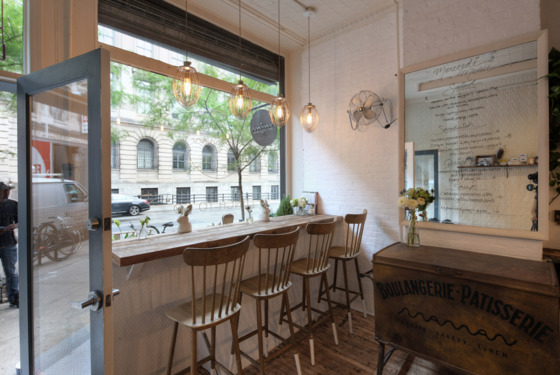
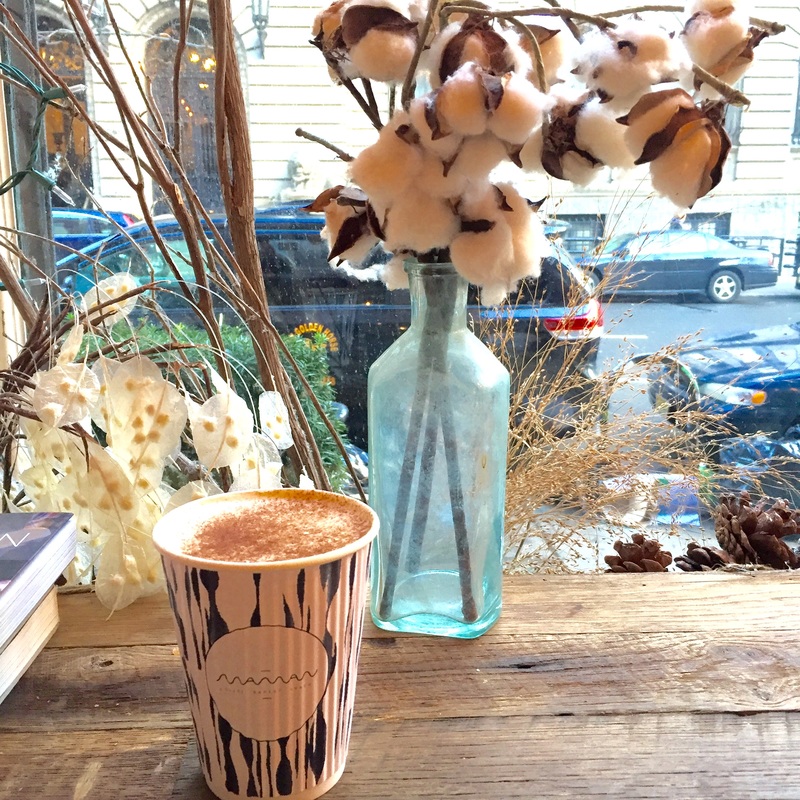
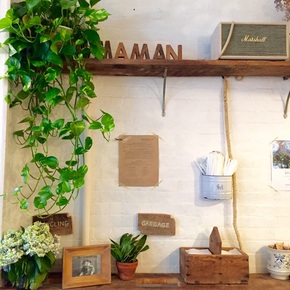
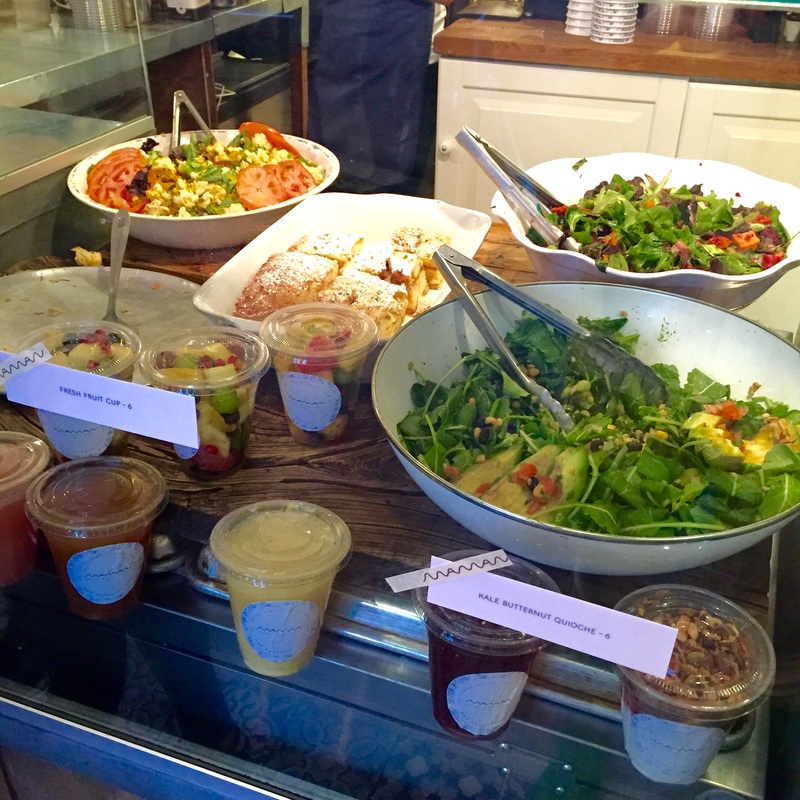
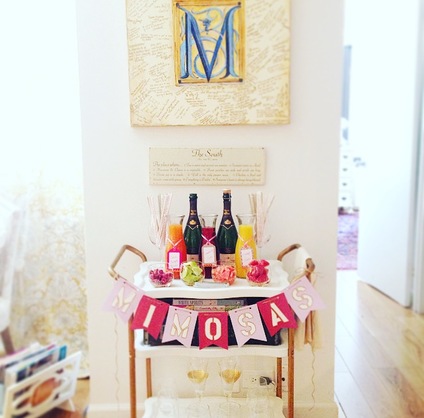
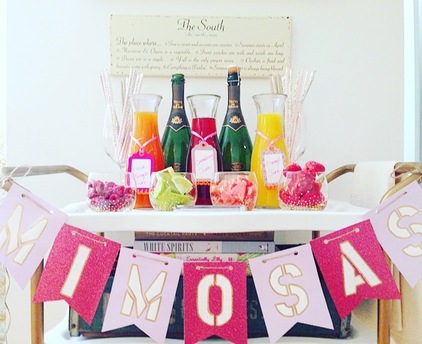
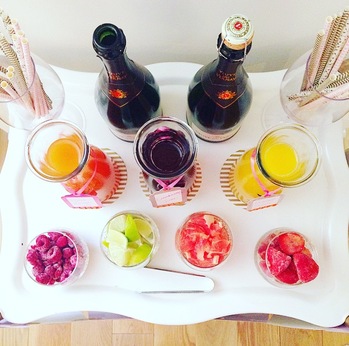
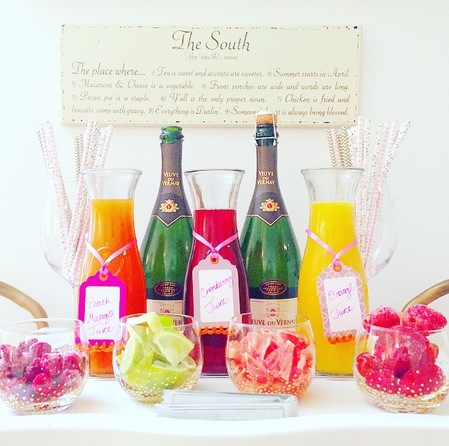
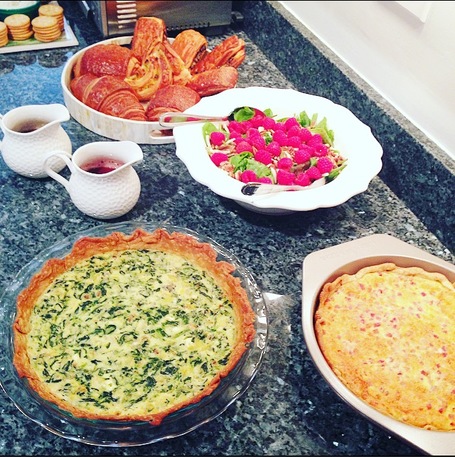
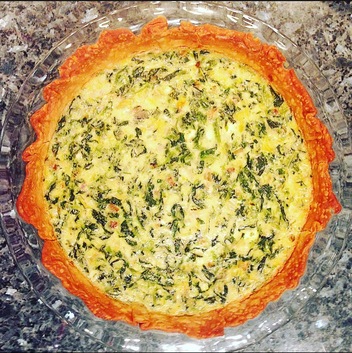
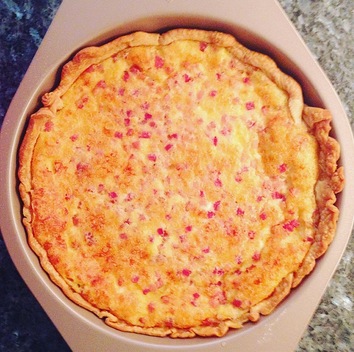
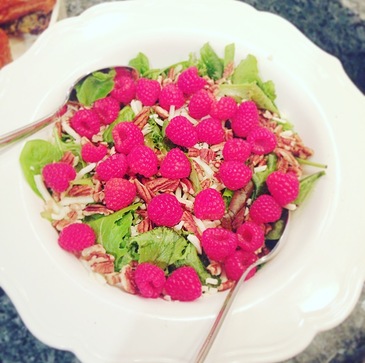
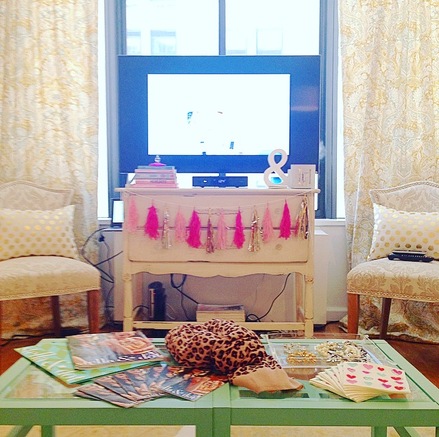
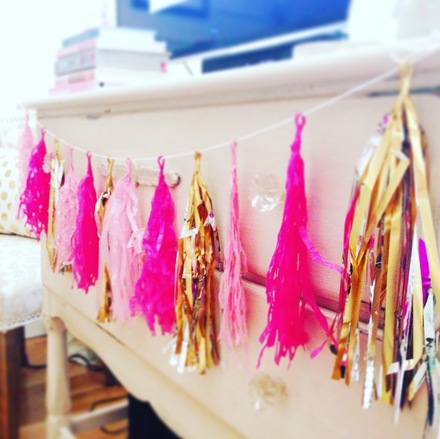
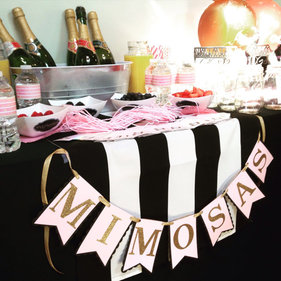
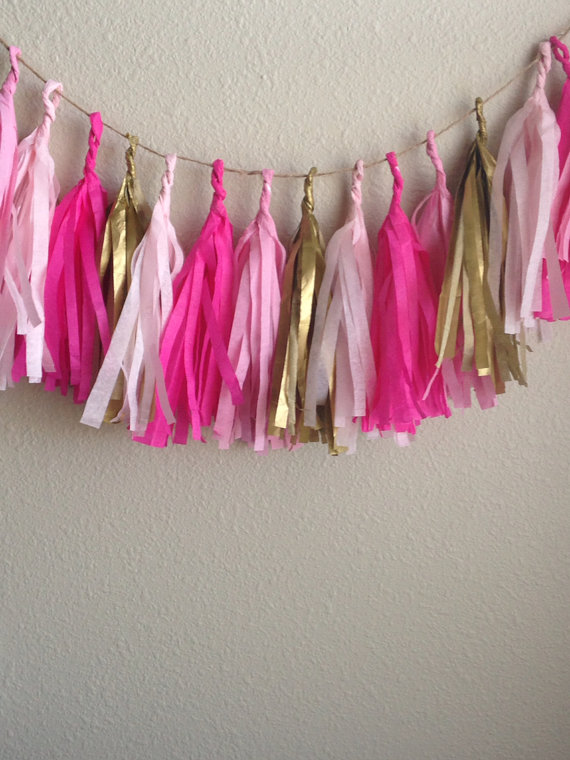
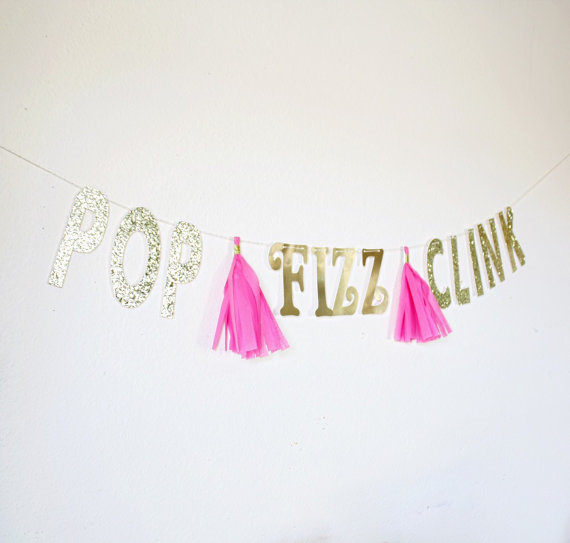
Spring is upon us, and with that comes WEDDING SEASON! Having attended many weddings, been in many weddings, and even planned my own wedding, I have a few tidbits of advice ... If you're attending a wedding as a guest there are a few simple courtesies to follow: -RSVP...I'm serious! Having planned a wedding, it is IMPERATIVE to RSVP by the indicated date. No bride has the time to track down all of the folks who haven't responded, and it is incredibly hard to give caterers and rental companies numbers and deposits by the deadline. -If you have replied "Yes" then you must attend (barring some horrible emergency). If there is a legitimate emergency, be sure to contact the bride to let her know and offer to pay for your portion. - Send your wedding gift instead of bringing it with you. It makes it much easier for the bride & groom, and as the guest it's one less thing you have to remember. - DO NOT WEAR WHITE...ever...for any reason! If you're an attendant in a wedding, make sure to keep these things in mind: - Do not complain about anything, ever! If you need to vent about something, call your mom. Do not spread gossip throughout the bridal party. It will get back to the bride. - Do your best to communicate with the bride and ask her if she needs help with anything, this simple gesture goes a long way! - If you are having a financial or commitment issue, do reach out to the bride to handle the situation with her personally - Do your very, very best to make it to all of the pre-wedding events: showers, engagement parties, bachelorette weekends, bridal luncheons, etc. While it may seem overwhelming, it will mean the world to the bride for you to be there to celebrate with her. If you can't make it to something, let the bride know in advance and send a card just to let her know that you're thinking of her. - The bridesmaids luncheon and rehearsal dinner are not optional events. Plus, who wants to miss out on the festivities and have FOMO? - You should still get the happy a couple a gift, even if it's something small. - If the bride asks you to get your hair, nails, and/or make-up done a certain way...just do it...with a smile! She has a vision in her head of her big day; and if something this menial helps make it what she's always dreamed of, then so be it :) - Don't leave the reception early. You are apart of the wedding party and it is expected that you stay until the bride and groom make their grand exit. - Remember to have fun & enjoy the time and the journey! You obviously mean the world to the bride, and she asked you stand with her on the most important day of her life..it is an honor & a gift! If you're hosting a wedding, consider these tips while planning: - Remember that even though it is YOUR big day, you are the host to all of your guests. - Make sure you're guests are comfortable * Comfortable accommodations should be made available * Make sure there is easy access to information * Provide a schedule of events, so your guests know where to be when - Make sure that the time, money, and effort you're asking of your bridal party and guests is reflected in the style of your wedding and reception. Example: If you're expecting your guests to attend your wedding in Black Tie attire, then the tone of the wedding and the reception should reflect the formality: fine food and drink, seated meal, live band etc... - Cash bar is never acceptable. Open bar or no bar. A good way to stay budget friendly and still serve alcohol is to offer beer & wine only. - You should feed your guests. There are many options - heavy hors d'oeuvres, buffet, stations, plated meal. Choose whichever one suites your budget and style best. Trust me your guests will thank you :) I hope these notes of advice help...whether you're the bride, a bridesmaid, or a guest! And always remember...weddings are FUN!! Enjoy the time with your special friends & family...that's the most import thing of all! Happy Wedding Season! Thanks for reading! Cheers - Molly Those of you who know me are probably wondering why I would even know of good coffee spots since I don't even drink coffee! However, I am married to a coffee fanatic; and I myself do appreciate a good chai latte--and a pastry of course! Nowadays, it's all about a place with a "vibe;" and that goes for coffee joints, too. See below for my favorite NYC spots to grab a cup-of-joe and a sweet treat... PRO: -Their drinks are delicious, and they have a wide selection of daily pastries - The "vibe" is fresh and airy! All white with dark accents...can you say "Swoon"! - It's adjoined to Club Monaco, so you can shop while you sip! -There is also a quaint flower styling station, as I like to call it, at the back of the shop. They always have fresh, beautiful blooms ready for purchase. CON: - There aren't really any places to sit. Not great for chatting or working. -It gets really crowded and tight during prime rush hour making it hard to maneuver within the space PRO: - The "vibe" here is very industrial yet cozy - While their pastry selection isn't huge...it doesn't need to be because their peanut butter and jelly donut is a MUST! They also offer cookies and croissants that are the size of your head. - Their is plenty of seating right inside the hotel lobby. This is a great place to chat and catch up with a friend or to hunker down and get some serious work done! - They offer sit-down service or to-go! CON: - There is ALWAYS a line... - While there are places to sit inside the hotel lobby, there aren't inside the coffee shop; so transporting your goodies sometimes requires extra hands. - Their menu is good but simple PRO: - Maman is basically the cutest shabby-chic vibe I have ever seen - They have an extensive menu of not only pastries but also sandwiches, salads, quiches, and a full-service brunch on Sundays until 3pm! - They have many seating options--Everything from the counter by the window, to long bench seating in the front entry, to restaurant style seating in the back - no shortage here! - Their cups are so cute you'll actually want to try and save them, and they offer a wide variety of sizes. CON: - Lines, lines, & more lines... but well worth the wait! - Sometimes the seating fills up, especially at prime hours or on a lazy weekend day Comment and let me know what your favorites are! Thanks for reading! Cheers - Molly Being able to host your girlfriends for brunch is one of the best things about being an adult... So why not do it up right ? Lets get right to it... No brunch is complete without MIMOSAS...So I turned my bar cart into a full blown Mimosa station! 1- Grab your glass 2- Pour the bubbly 3- Choose your juice 4- Add some fruit 5- Cheers! Oh wait...there's supposed to be food at brunch, too! Here are a few of my favorite brunch recipes ! Quiche, a spring salad, and pastries are always a safe bet! The Spring Salad is easy peasy: 1 box of spinach or mixed greens - washed, drained, and dried A sprinkle of shredded mozzarella cheese A handful of chopped pecans 1 container of fresh raspberries (washed and dried) A choice of raspberry or balsamic vinaigrette I'm not even going to pretend that I'm a pastry chef, so just buy a selection of your favorites from your local bakery! Add a little extra sparkle and flair with some tassel garland, confetti, or streamers! On this particular occasion, I was hosting a Stella & Dot trunk show (which was interrupted by Winter Storm Jonas); but we didn't let 30 inches of snow spoil our girls' day! Be sure to check out my favorite Stella & Dot stylist, Charlotte's, web page and her blog! Invite your favorite gal pals, and you've got it made! Loved being snowed in with these girls...and bottomless mimosas! Shop all of my favorite goodies from this post here: Happy Brunching!!
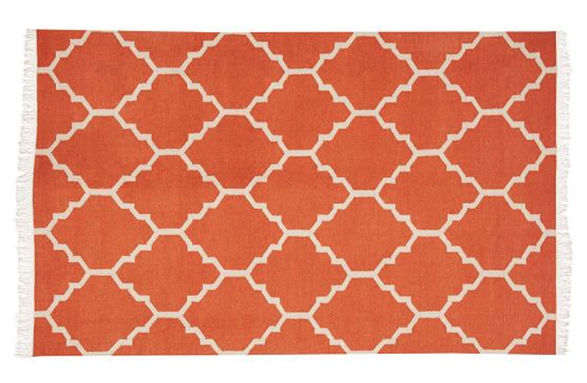
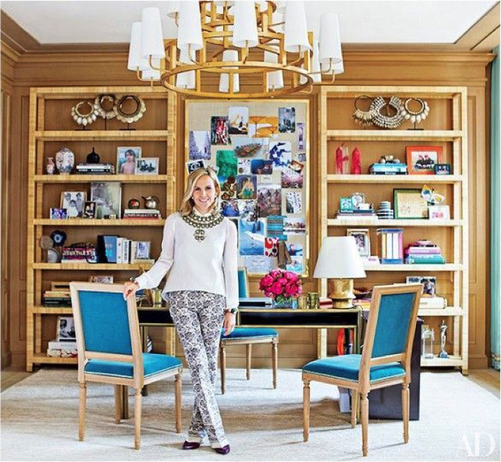
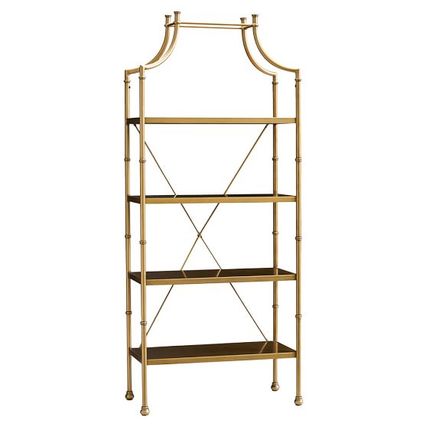
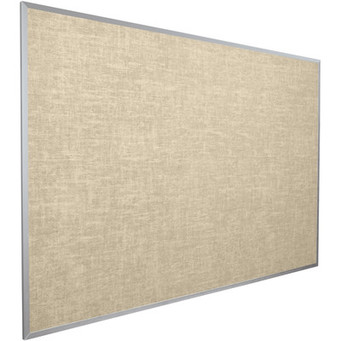
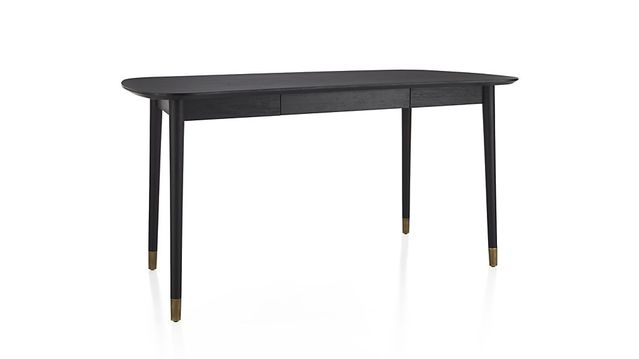
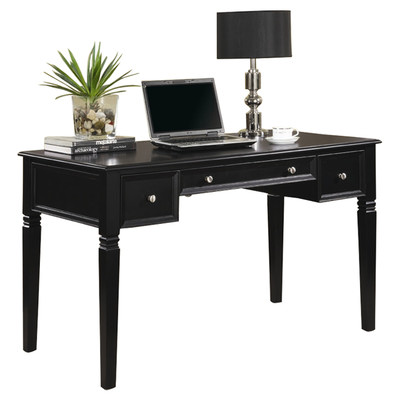
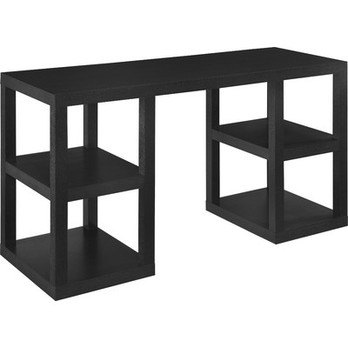
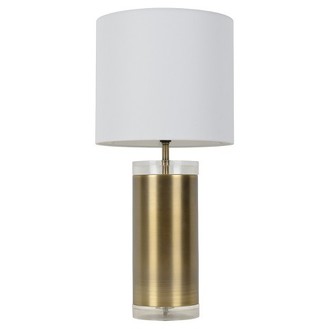
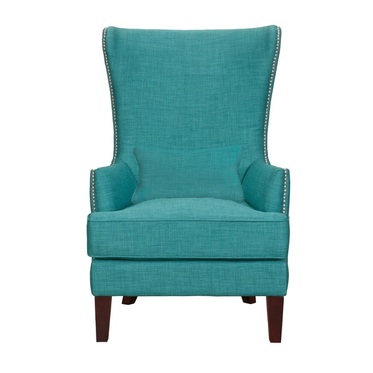
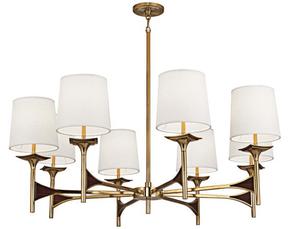
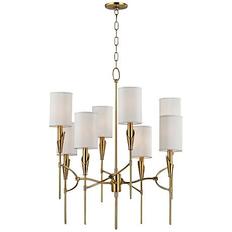
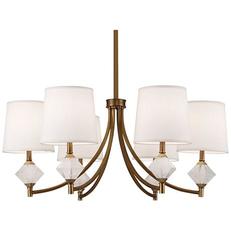
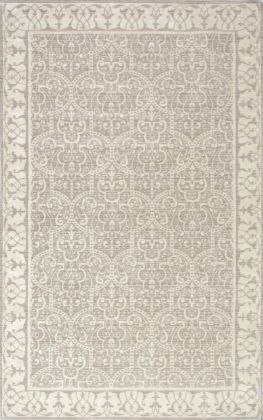
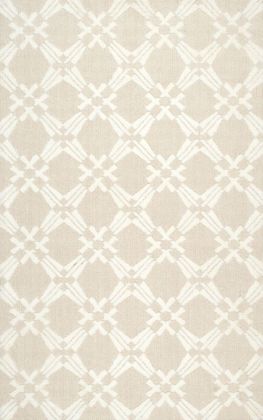
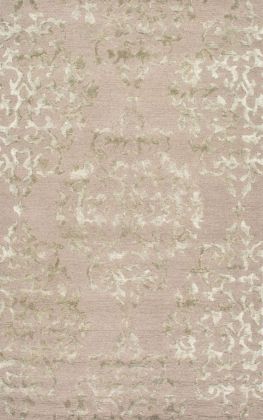
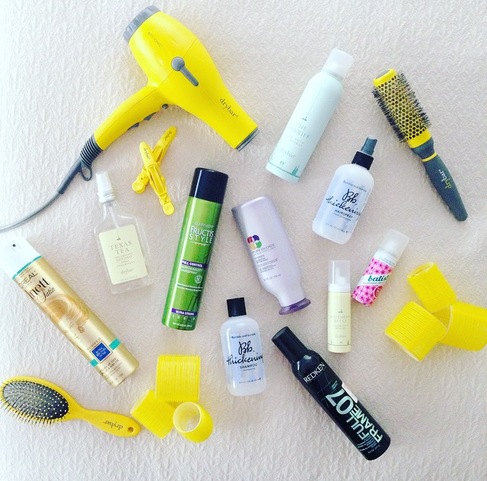
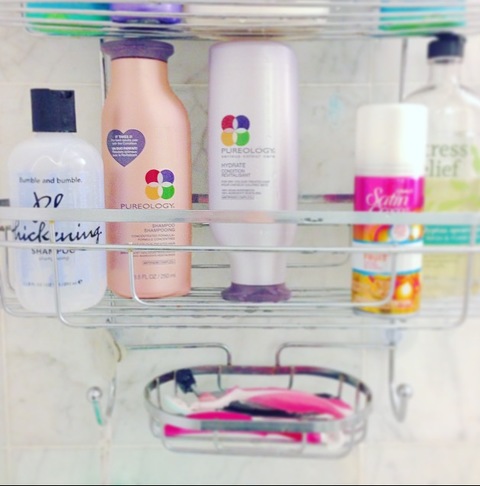
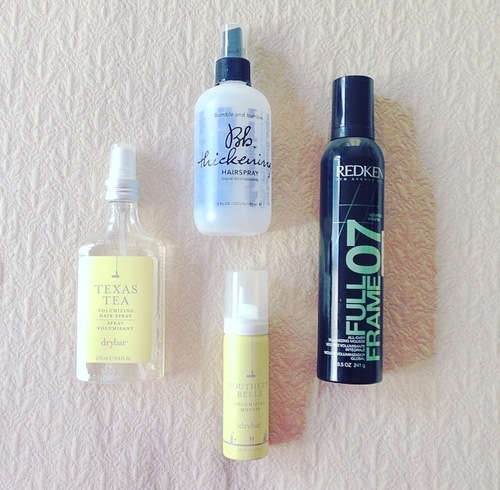
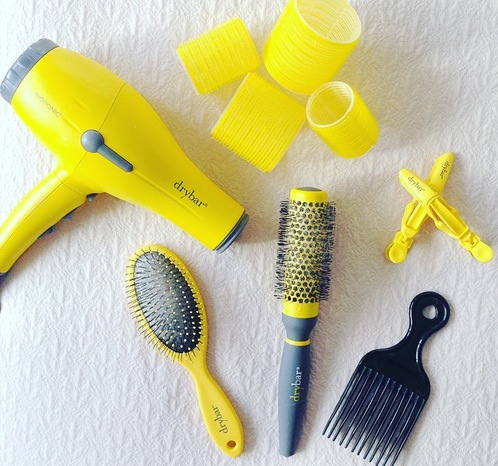
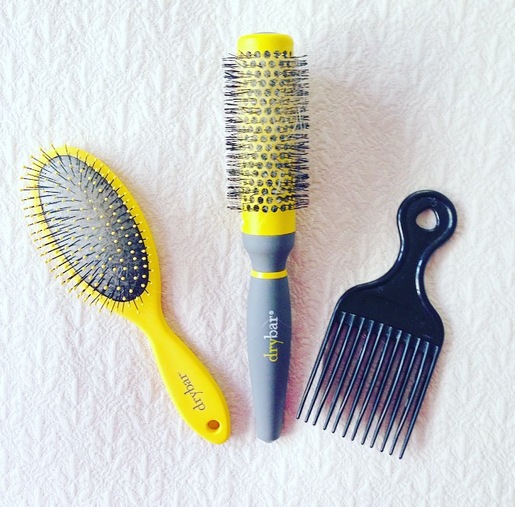
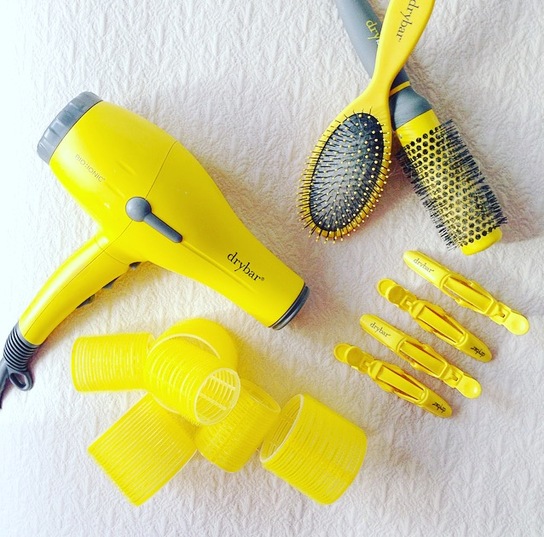
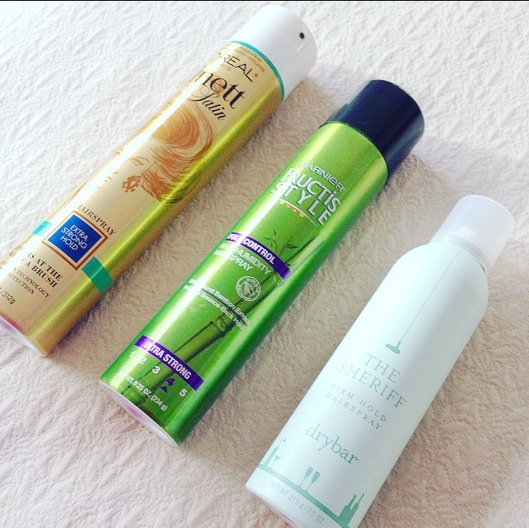
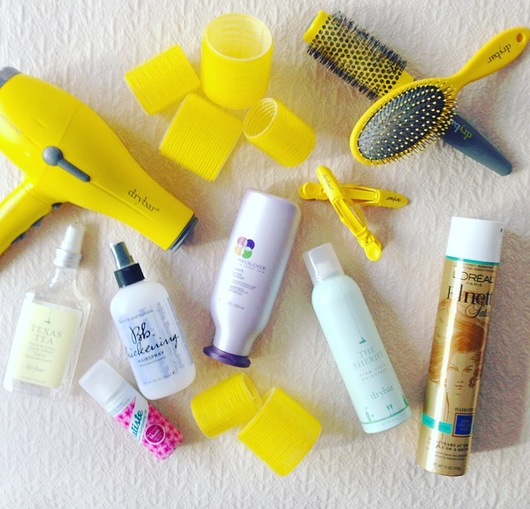
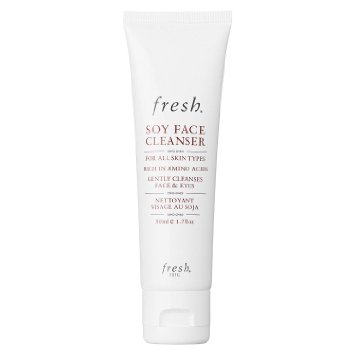
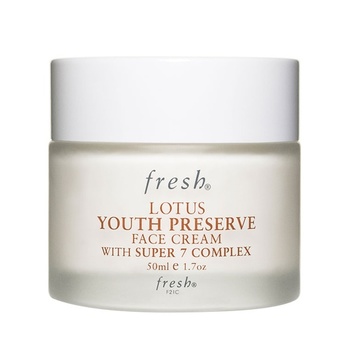
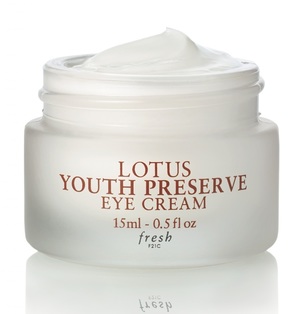
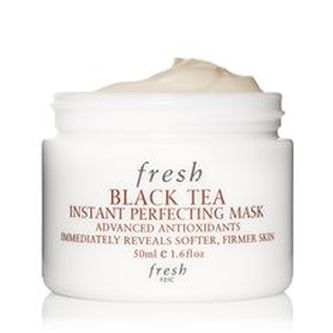
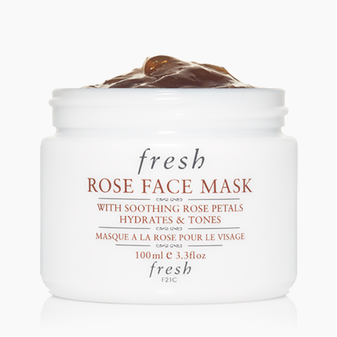
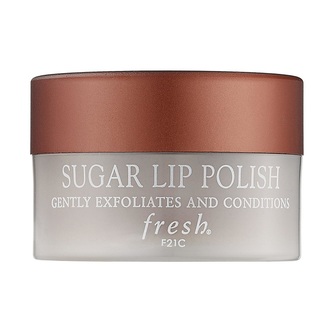
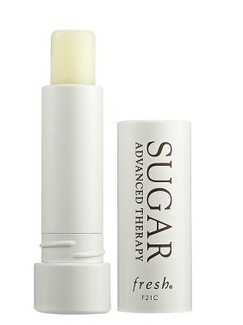
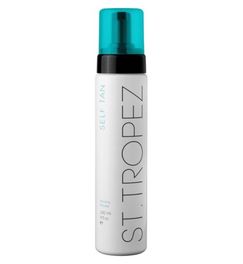
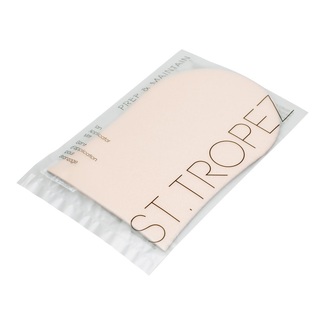
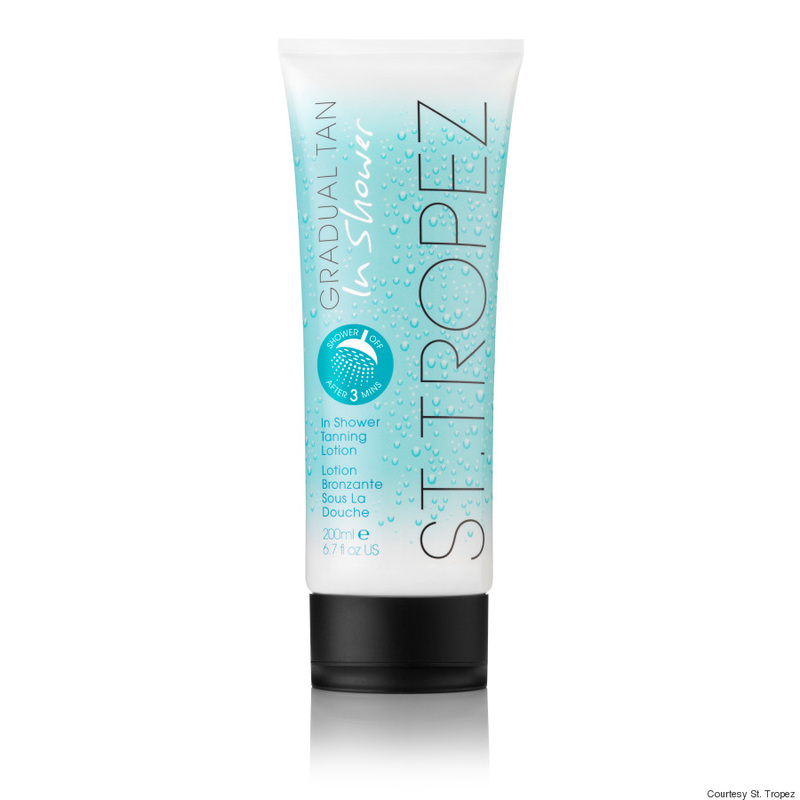
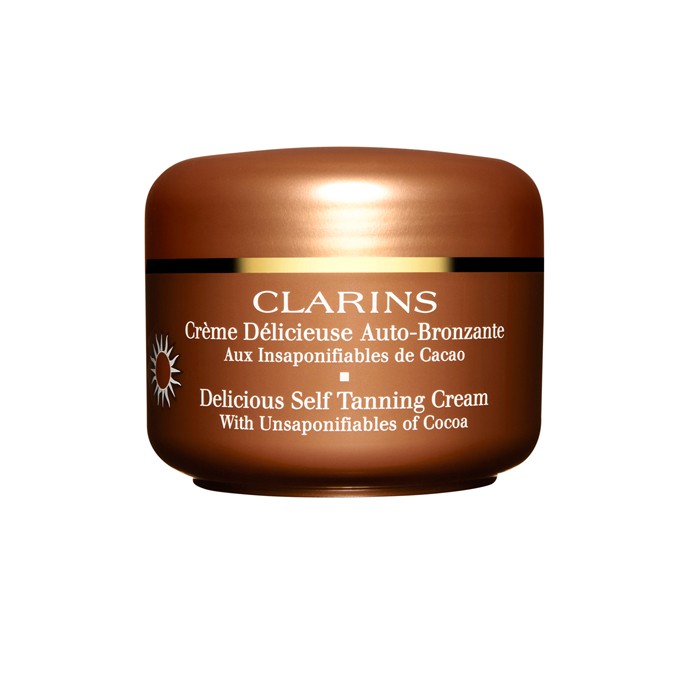
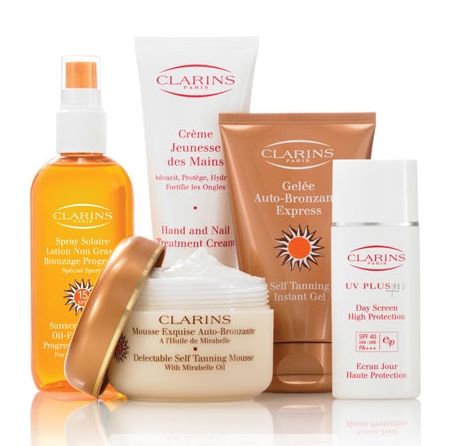
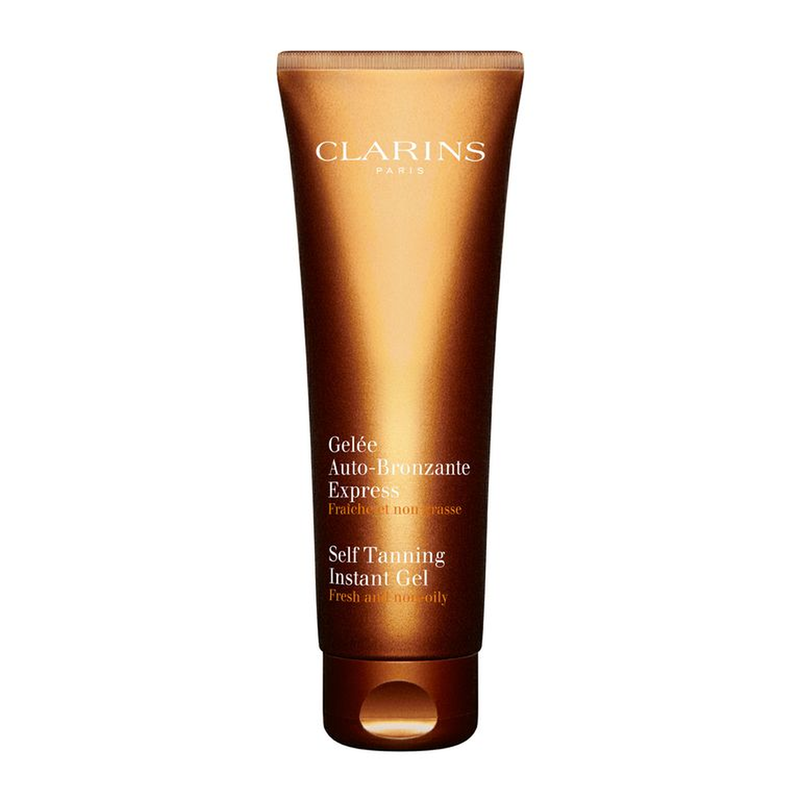
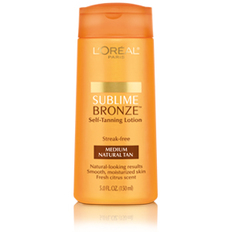
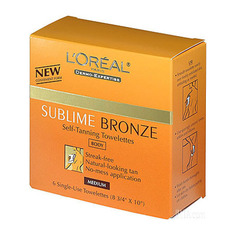
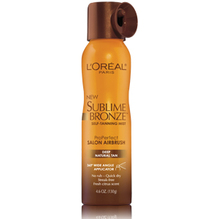
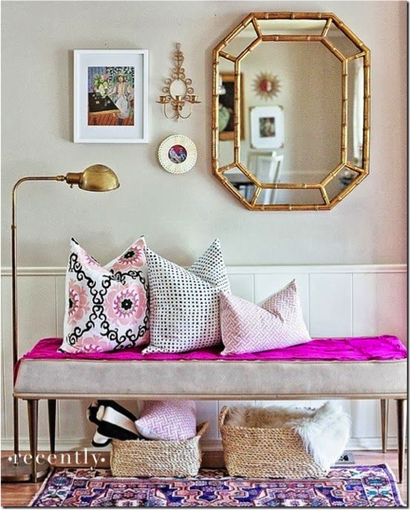
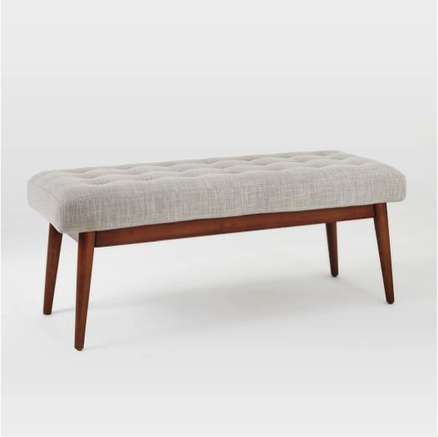
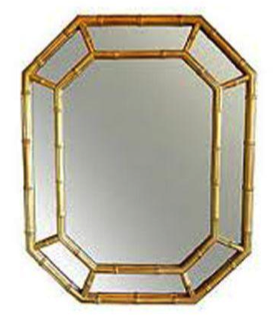
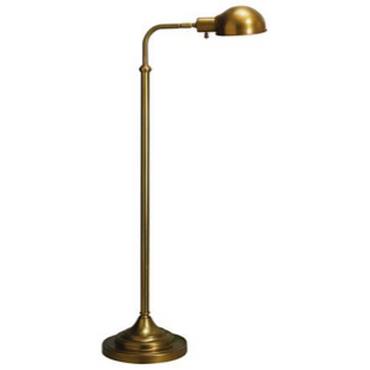
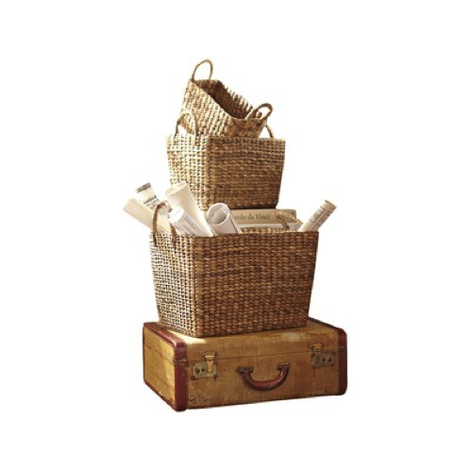
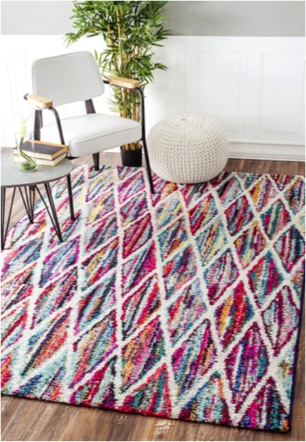
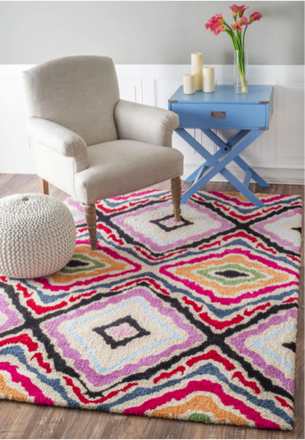
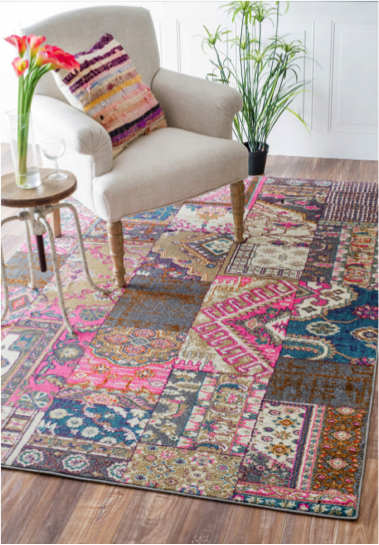
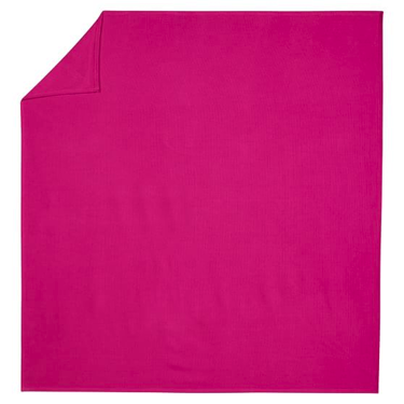
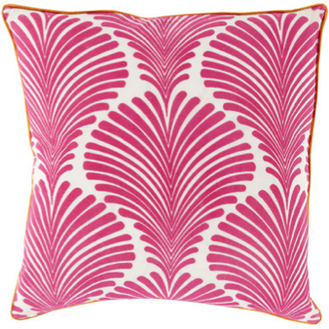
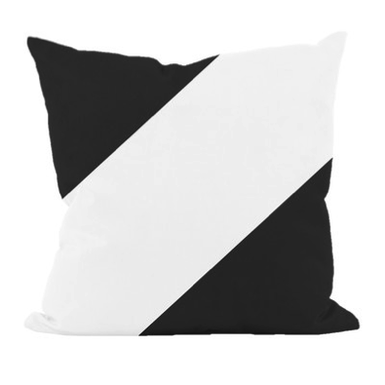
Thanks for reading! Cheers (to us girls) - Molly I mean could it get ANY dreamier than this? Who wouldn't want to work in a space as beautiful as this? Of course, Tory herself takes the credit for this one, but below I'll show you how to re-create a similar look for yourself! Let's start with the back wall...It's so beautiful yet functional as well. Now for that desk! Here are several options suited for any budget... And those chairs!!! These were a tough one... You could use one or the other or really a combination of both. These are my top 3 choices for re-creating the look of that FAB light fixture! And last but certainly not least...the rug! You may think you can skip this step, but I promise it will make all the difference by lightening and grounding the space. That's all for today! I hope this has inspired you to create a beautiful space just for yourself. Whether it's this look or something different that speaks to you, we all deserve that special place! Thanks for reading! Cheers - Molly I have HORRIBLE hair, so I have to work really hard to try and make it look better than it really is. Here are some of my secrets! My hair is fine, thin, and really unmanageable; but with some patience and lots of thickening products & hair spray, I can achieve that perfect blow-out look! Step 1: Make sure you use a thickening shampoo and a hydrating conditioner. Only apply the conditioner to tips, so it won't weigh down your hair later. Step 2: Towel dry your hair the best you can. Use a pick or wide toothed comb to detangle (fine hair and long hair tend to tangle more easily). Now it's time to apply the product. Use a thickening spray, root boost, and volumizing mouse. Layers, layers, layers. Make sure you get close to the root of your hair and work it in with your fingers. Step 3: Break out the hairdryer! Flip your head over and dry your hair on medium heat until it's damp . This may not be the most comfortable position, but, trust me, it makes ALL the difference! Step 4: Now, divide your hair into three sections: bottom, middle, top. Grab your round brush, turn up the heat to high and begin drying your hair in sections no larger than the width of the brush. The larger the brush the better the lift! Step 5: Repeat step 4 for all three sections of hair. Use the self stick rollers to add extra volume to the top layer. Divide your hair into strips the same width of rollers. Roll your hair and apply high heat from the hair dryer for a few seconds per roller. Let cool for 5-10 minutes then remove. Step 6: Hair spray!! Once you have your hair parted and adjusted to the position that you like, apply hair spray! The more the better! Apply different types and in layers - let each shot of spray dry before applying the next. Also, try using dry shampoo to add volume and texture! And there you have it!!! Perfectly volumized hair. People will think you've gotten a professional blow out! "The higher the hair the closer to God" & "The bigger the hair the smaller the town" Thanks for reading & good hair days to all! Cheers - Molly Beauty is always a hot topic, and Fresh is one of my favorite lines. Here are my favorite products! Let's start with the basics... face wash! Fresh Soy Face Cleanser is my "go-to." I usually use it first thing in the morning. It's perfect for any skin type and is gentle enough for face and eyes - I love an "all-in-one"! Because it's rich in amino acids, it creates a radiant glow which is the perfect way to start any day! Now for the moisturizer! I love having products that are multi-functional. This cream is heavy enough to provide long-lasting night-time moisture but light enough to use under your make-up. And don't forget the eyes! The eye area is especially sensitive, so be sure that whatever you decide to use is specifically curated for that area. I LOVE this product because it's light yet creamy and it works in conjunction with the face cream. Every now and again you have to treat yourself to a little extra pampering...let's talk face masks! With its rich antioxidant formula, the Fresh Black Tea face mask is the perfect cure for blemishes. We all get them sometimes, especially if our skin is overworked; and this is the perfect thing to have on hand. The Fresh Rose Face Mask is great for hydrating and toning. It leaves the skin feeling refreshed and tightened. This is a great thing to add to your weekly routine, especially with this dry winter weather. Often times we forget to take care of our lips until they are chapped and cracking. This is the ultimate remedy! I can't rave about this collection enough. I have been a long-time user and fan of the Sugar lip moisturizer! Since moving to NYC and experiencing the bitter cold and whipping winds, I have now added the Sugar Lip Polish to my arsenal. These are MUST HAVES, especially for winter! A great way to try products without spending a fortune is to buy the travel sizes! Most anything now days comes in a mini version, and they are usually less than half the price of the standard size. Let me know your thoughts on these and if you have other favorites from the Fresh product line! Thanks for reading! Cheers - Molly So lets face it...It's the dead of winter and our tans are long gone! I personally feel better when I have a healthy glow; and when you feel better, you look better! So let's get down to business...there are basically two options here: the professional route or the do-it-yourself route. I have had many professional spray tans in my life, and I must say I am a fan. These are great for extra special occasions, but I would advise that you try it first before the big night just to see how it may react with your skin...everyone is different! The do-it-yourself route is great for gaining that everyday glow or if you want to look a little extra special for date night! The great thing about at-home products is you control exactly how much you use! If you feel like you're becoming a little too dark or a little too orange, simply stop using the product for a few days and use a gentle exfoliant. Using the same gentle exfoliant before applying is always a good way to help ensure the product goes on more evenly. Here are my top alternatives to " fake baking" : #1 - St. Tropez If I could buy this in bulk I would! It is a gradual, self-bronzing mousse that is applied with the corresponding mitt. It provides a slight glow right away but gradually turns tan over a period of a few hours. I usually apply after my night time shower, so it has time to work its magic while I get my beauty rest! The other great thing about this line is that the actual mousse is a dark brown color (don't be alarmed, it isn't actually as dark as it seems) which allows you to see exactly where you are applying it! It comes in a wide variety of options; everything from the basic tanning mousse, to sensitive skin tanning mousse, to an all new in-shower tanning lotion. #2 - Clarins Clarins makes a GREAT self tanning product line! They have several options to choose from. Their "Delicious Self Tanning Cream" is great for building a gradual tan. This is applied with your hands so make sure you wash them well afterwards; you don't want to look like you have been digging in the garden. They also have a self-tanning mousse, which is applied the same way; but the mousse is a white formula where as the cream is a tinted formula. Their self- tanning instant gel is also perfect if you are on a time crunch or if you need to touch up any areas you may have skimmed over using the gradual tanning products - improvise people! #3 - L'Oreal Sublime Bronze I love that this same product comes in three different application options! These are gradual tanning products, which means you will not see any instant color. On the left we have the tanning lotion. This allows you to control how much or how little you many need/want to use. In the middle we have the tanning towelettes. These are individually packaged wipes that already have the tanning agent in them; all you have to is apply. These are great for on-the-go or travel use! On the right we have the self-tanning mist. This requires no rubbing and dries quickly! Y'all comment and let me know if you all have other favorites that have worked for you! Thanks for reading! Cheers - Molly Mays An entryway serves many purposes... seating, shoe storage, a catch all, a place to check your hair and makeup one last time before dashing out the door! This easy and elegant design does just that with a touch of midcentury modern chic, some cozy pillows, a pop of color, and, of course, storage... but where do you find all of these elements? Below are some essential items to duplicate a similar look... Let's start with the key pieces! Here are my top three picks for rug selections! The size of your space determines the size of your rug. Check out this link to help determine the perfect size for you! Now for the details... That hot pink throw across the bench is EVERYTHING!! For a bolder look try this grouping of pillows... And the final touches... Let me know what you think of this unique combination of styles! Thanks for reading! Cheers - Molly |
Archives
June 2018
CategoriesAll Design Tips From MM Entertaining With MM MM Favorite Things Mm Look Book Mm Pinterest Hacks 101 Mm-pinterest-hacks-101 Traveling With Mm Traveling-with-mm |











 RSS Feed
