
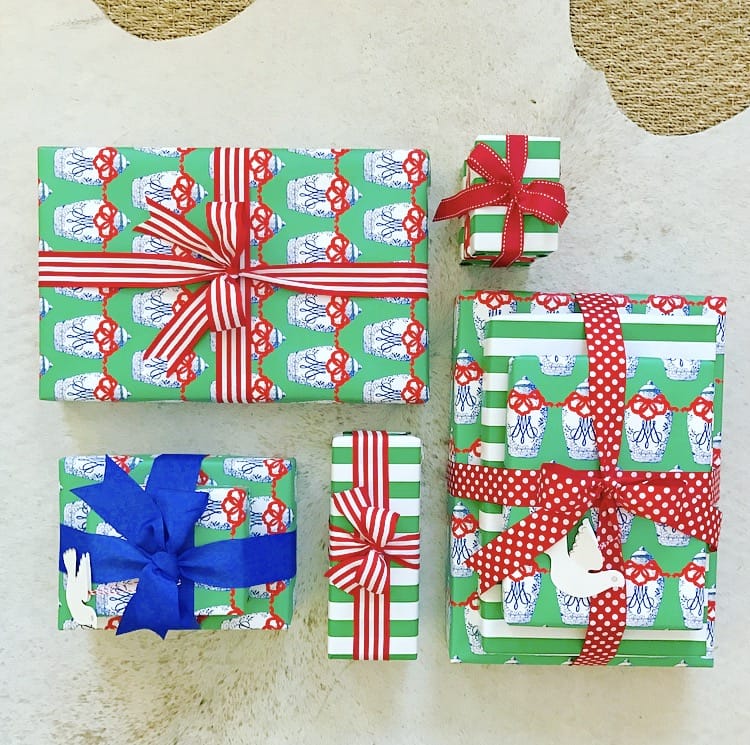
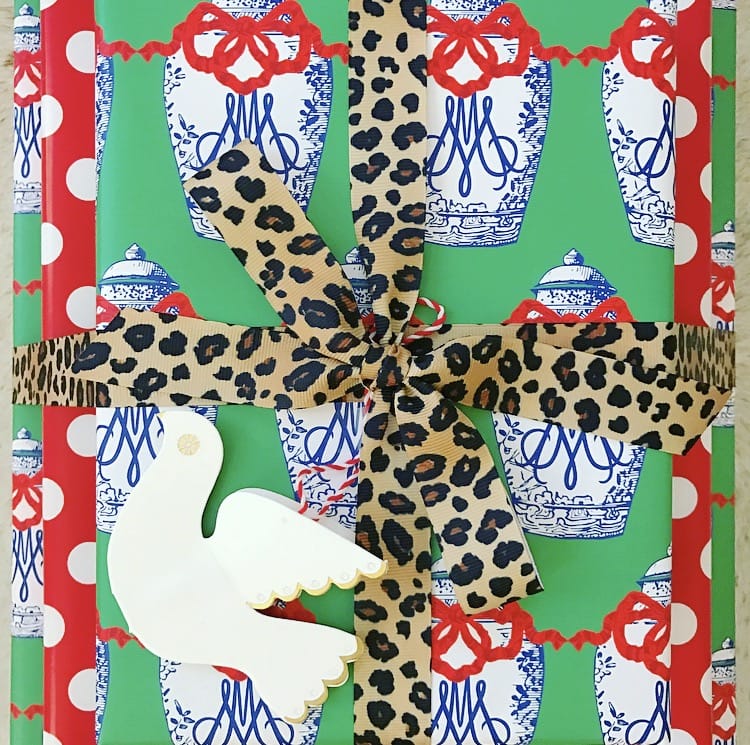
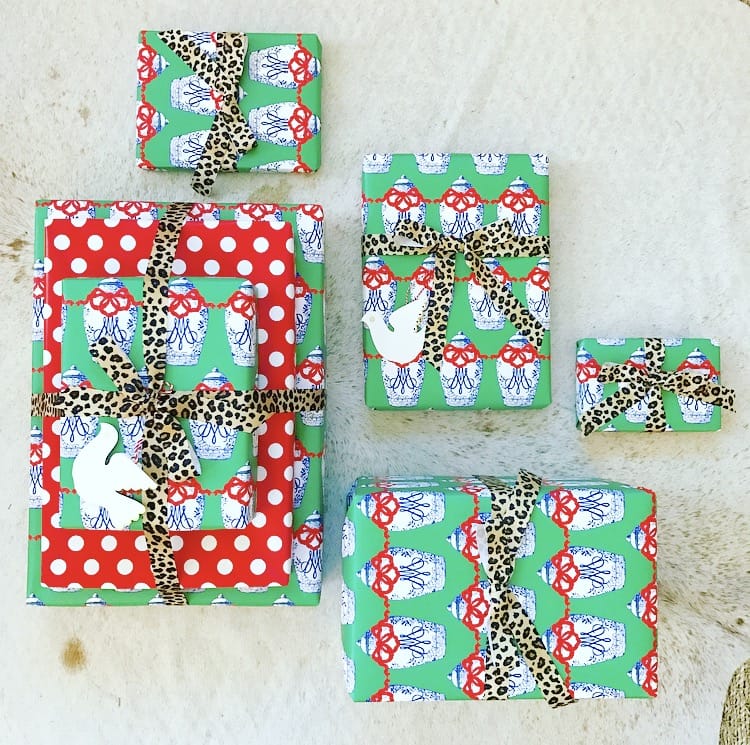
 I always set aside an afternoon during the holidays to knock out all of my gift wrapping. It always helps me get into the spirit and is one of my favorite traditions! Today I am sharing my gift wrapping tips and tricks! So, go light your Christmas candle, turn up the Christmas tunes, pour yourself a mimosas, drag out all of your wrapping supplies, and let's get to work! Step1: Lay out your box and place 2 flat sheets of tissue paper on top 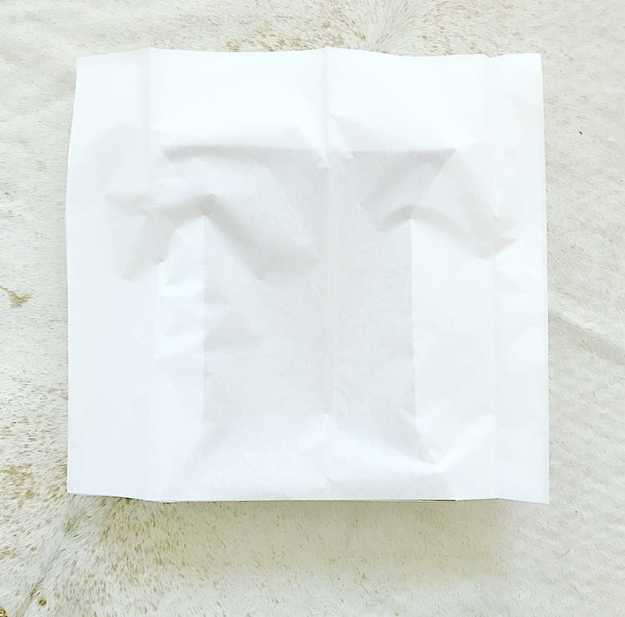 Step 2: Crease the tissue paper so that it fits the length of the box perfectly 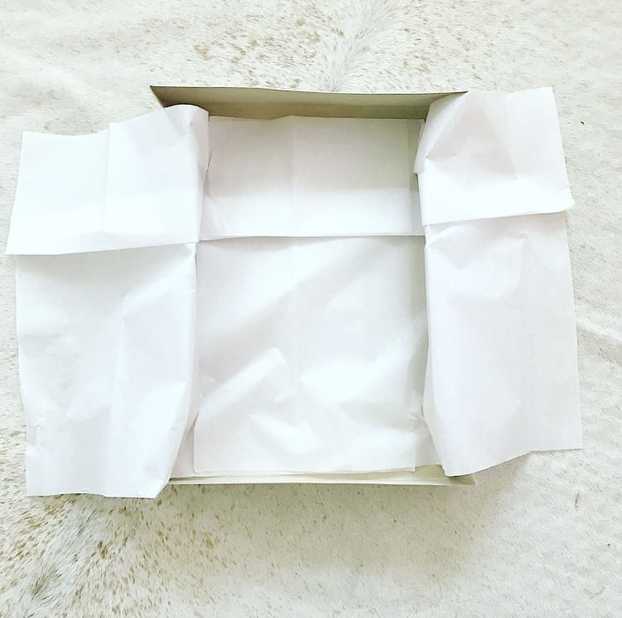 Step 3: Place your item into the box and fold each side of the tissue paper over it. 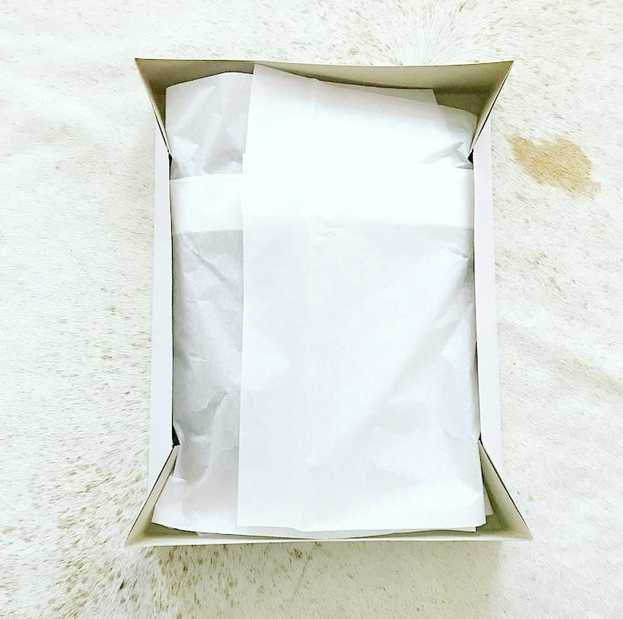 Step 4: Roll your paper out, flip the box over so the bottom is facing up, and slide to one end. Leave enough room on the sides for the paper to completely cover the box. 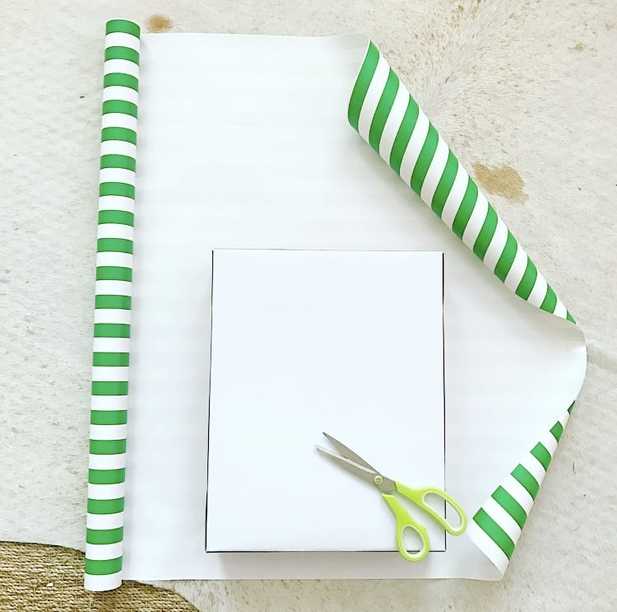 Step 5: Fold each side of the paper over the box to measure how much you'll need. I always over estimate--better to have too much than not enough. 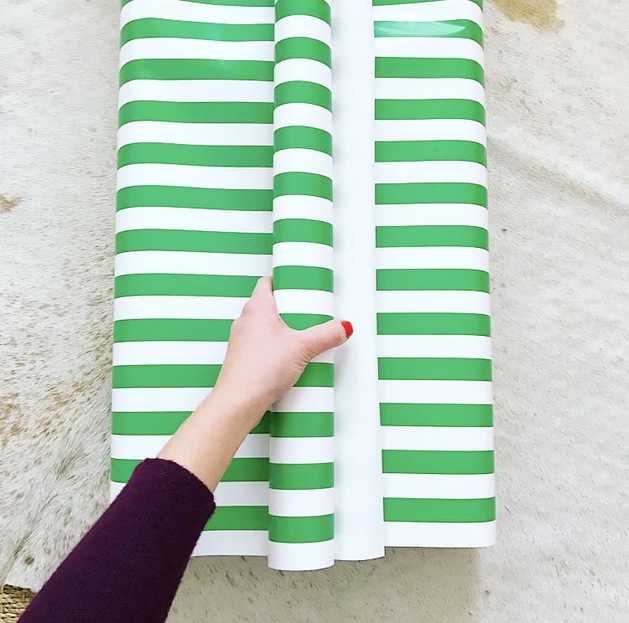 Step 6: Cut your paper according to the size measured above 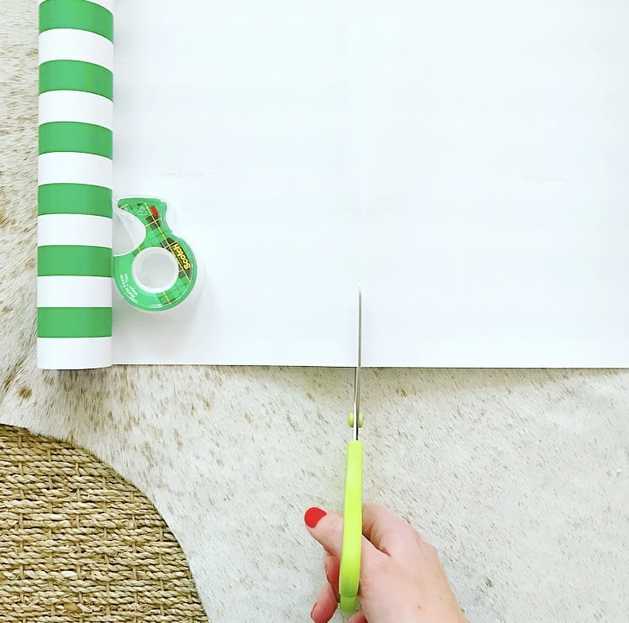 Step 7: Place your box approximately in the center of the paper and fold over one side; secure with tape 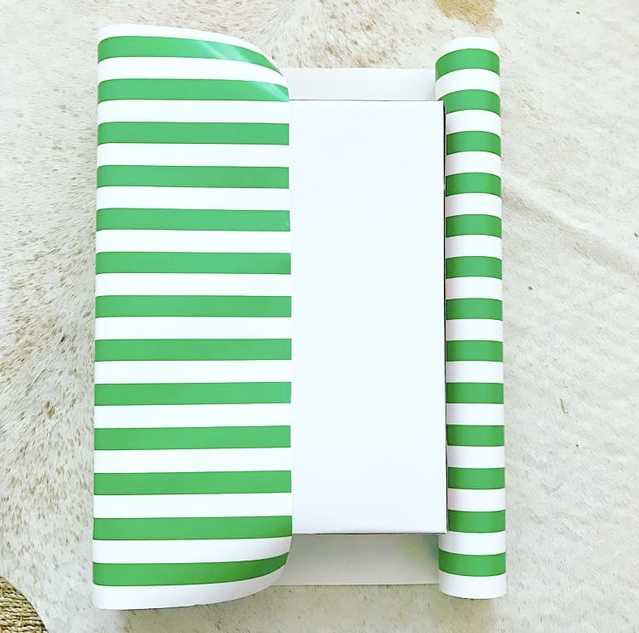 Step 8: Before taping the other side of the box, fold over the edge of the paper, creating a perfectly crisp line 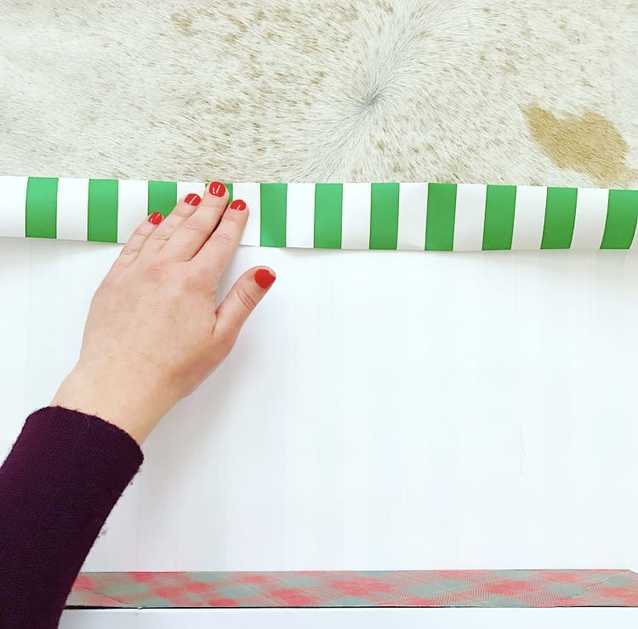 Step 9: Match up your pattern (as best you can) and secure the other side 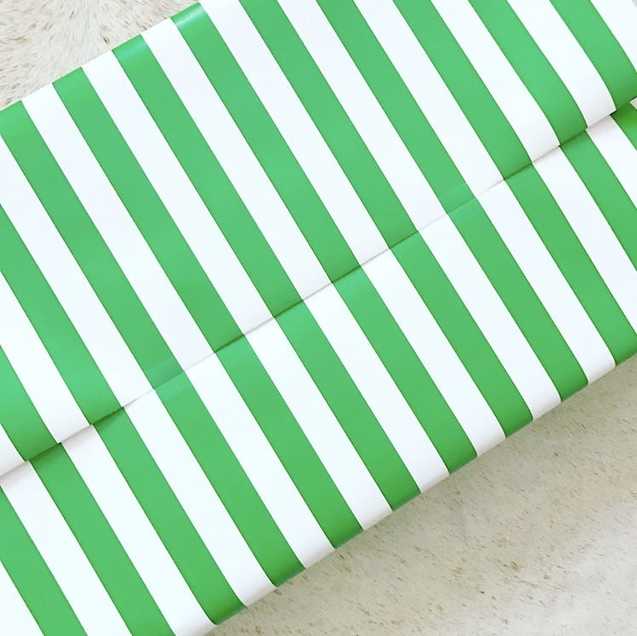 Step 10: Now for the sides... Fold each corner in at an angle 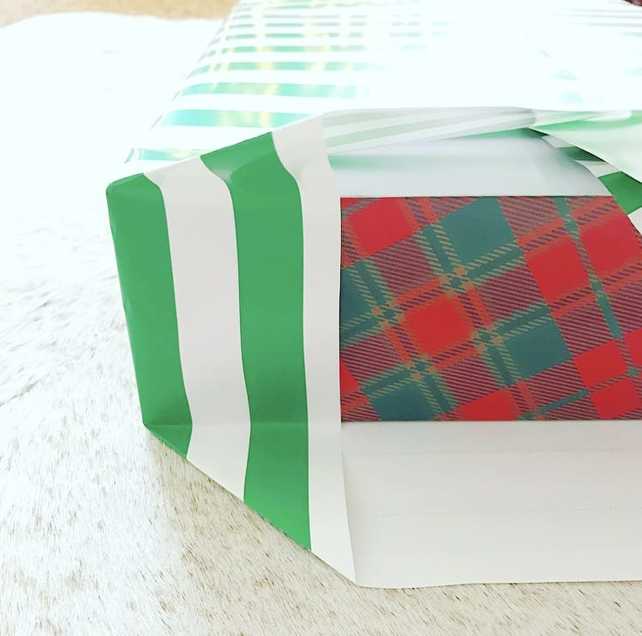 Step 11: Fold the top flap down and secure with tape. Fold the bottom flap up and secure with tape  Step 12: Repeat step 11 on both ends 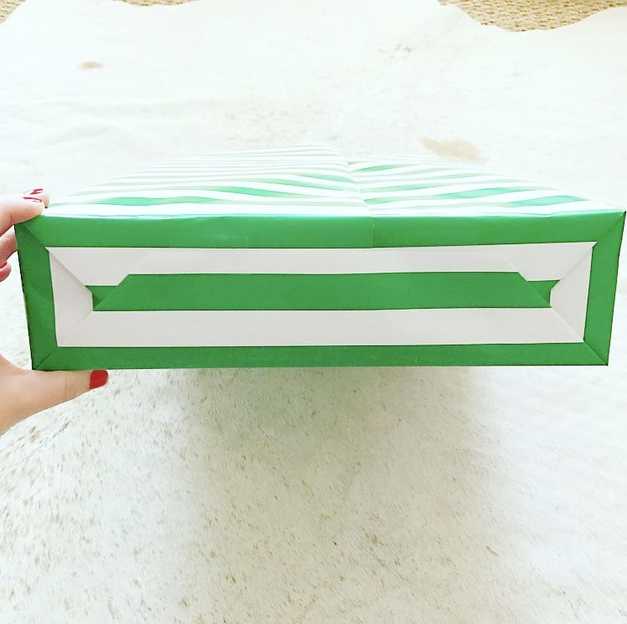 Step 13: Now that your box is wrapped it's time for a bow! 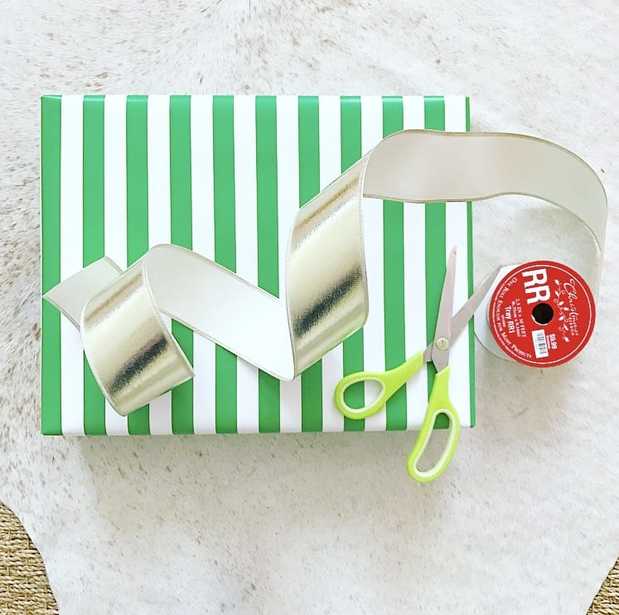 Step 14: Flip your box back over so it is right side up and place your ribbon horizontally across the top. Be sure to leave enough excess ribbon on both ends. Estimating how much you'll need will take a little practice. 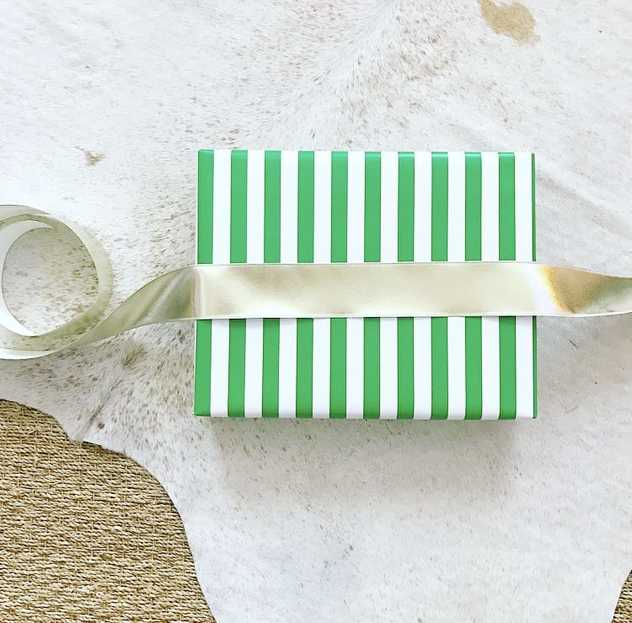 Step 15: Wrap the ribbon around the sides and onto the bottom (your box should be flipped back over to the bottom side now). Take each end and twist them around each other in opposite directions. Each end of the ribbon should form a 90 degree angle. Pull tightly, so it isn't loose. 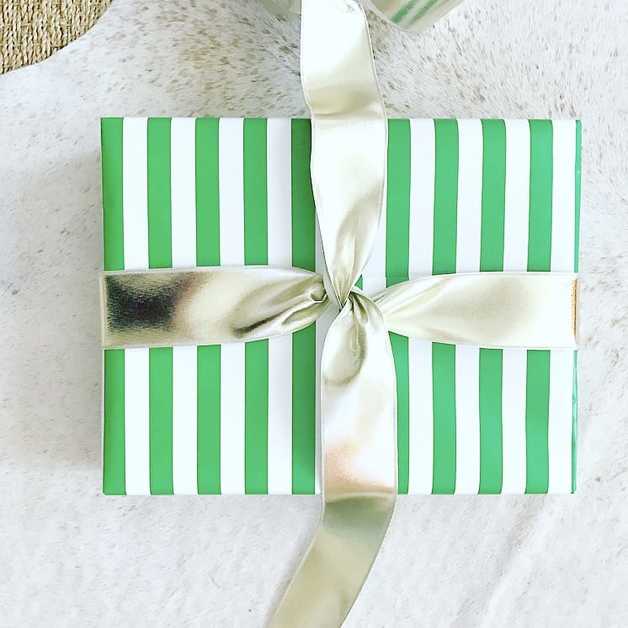 Step 16: Flip your box back over to the front side and gather each end of the ribbon (now on opposite sides of the box from where it started). Tie your bow as if you are tying your shoes! 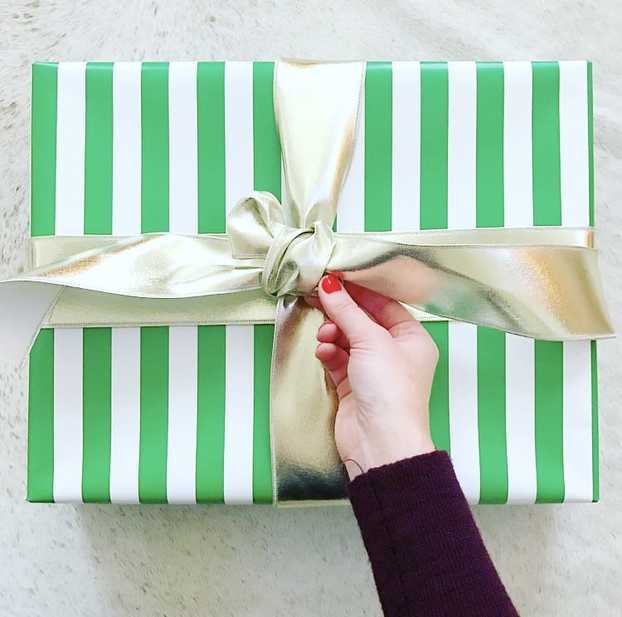 Step 17: Pull tightly to secure your bow. Monkey with the loops and tails until they are the size and length you want them. Then, trim each end of the tail to prevent fraying and add a little decorative touch. -One solid angled cut starting at one corner or -Two smaller angled cuts from each corner meeting in the center 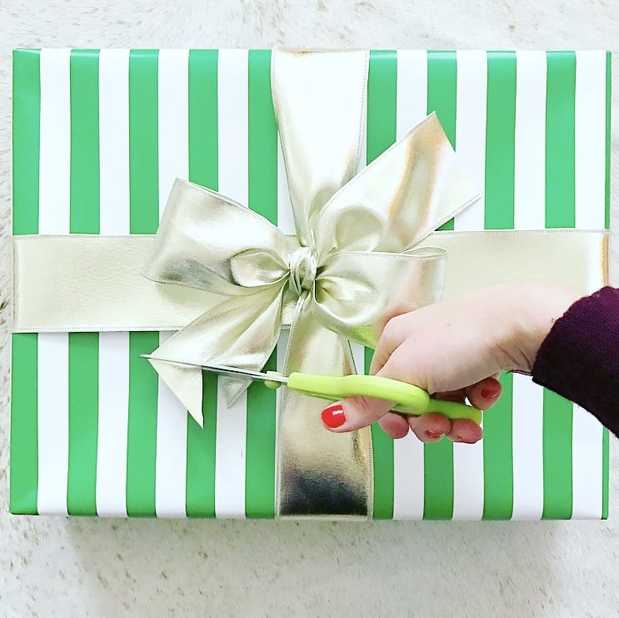 Step 18: Voila! You have a beautifuly wrapped gift! 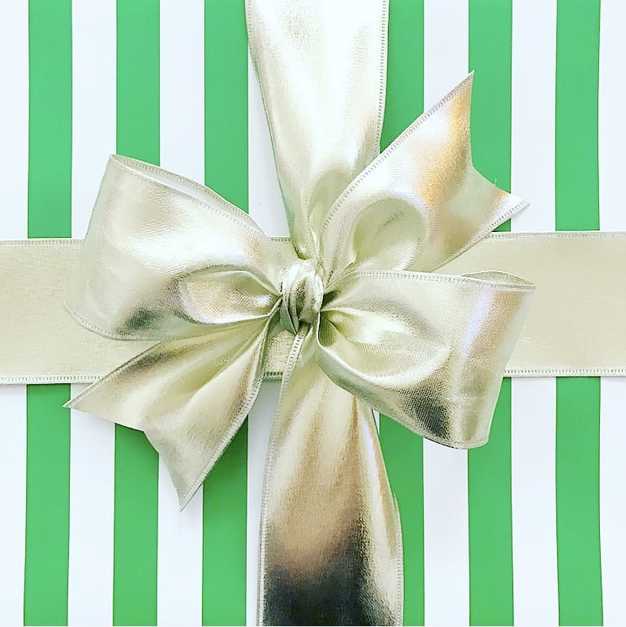 I hope this helps! Comment below if you have questions; I will be happy to help! Also, here is a list of a few of my favoirte spots to pick up gift wrapping supplies: -Hobby Lobby -Homegoods -TJ Maxx -Emily McCarthy Shoppe -All She Wrote Notes Thanks for reading! Cheers to beautifuly wrapped gifts! XX-Molly
1 Comment
|
Archives
June 2018
CategoriesAll Design Tips From MM Entertaining With MM MM Favorite Things Mm Look Book Mm Pinterest Hacks 101 Mm-pinterest-hacks-101 Traveling With Mm Traveling-with-mm |
 RSS Feed